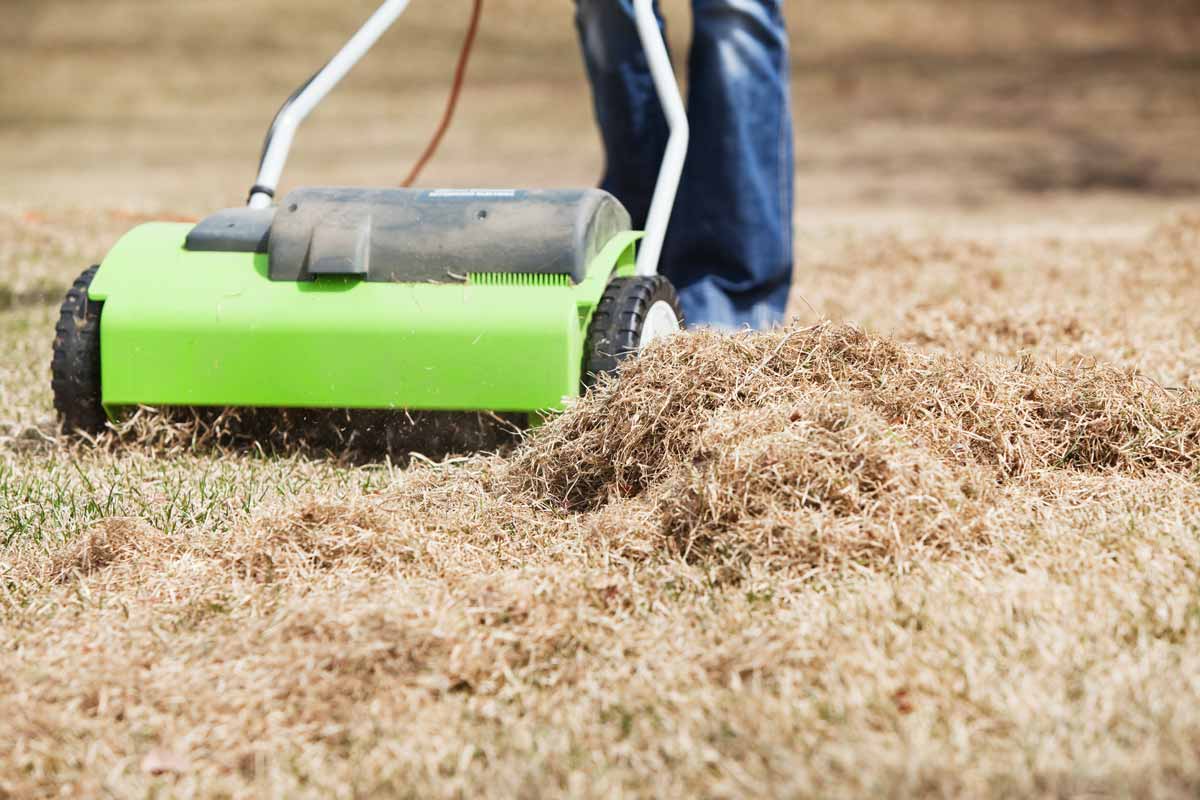
 After dethatching, you can take the grass that has been removed and turn it into compost.
BanksPhotos / iStock / Getty Images Plus
Is your yard “thatchy?” Meaning, does your lawn have a lot of thatch?
Thatch is the layer of dead grass blades, shoots, roots and leaves that exists between soil and live grass. Some grass seed blends and mixtures produce more thatch than others, and though it is beneficial in small amounts, providing a cushiony layer that helps control soil temperature and keep out weeds, too much thatch can cause potential issues for your lawn.
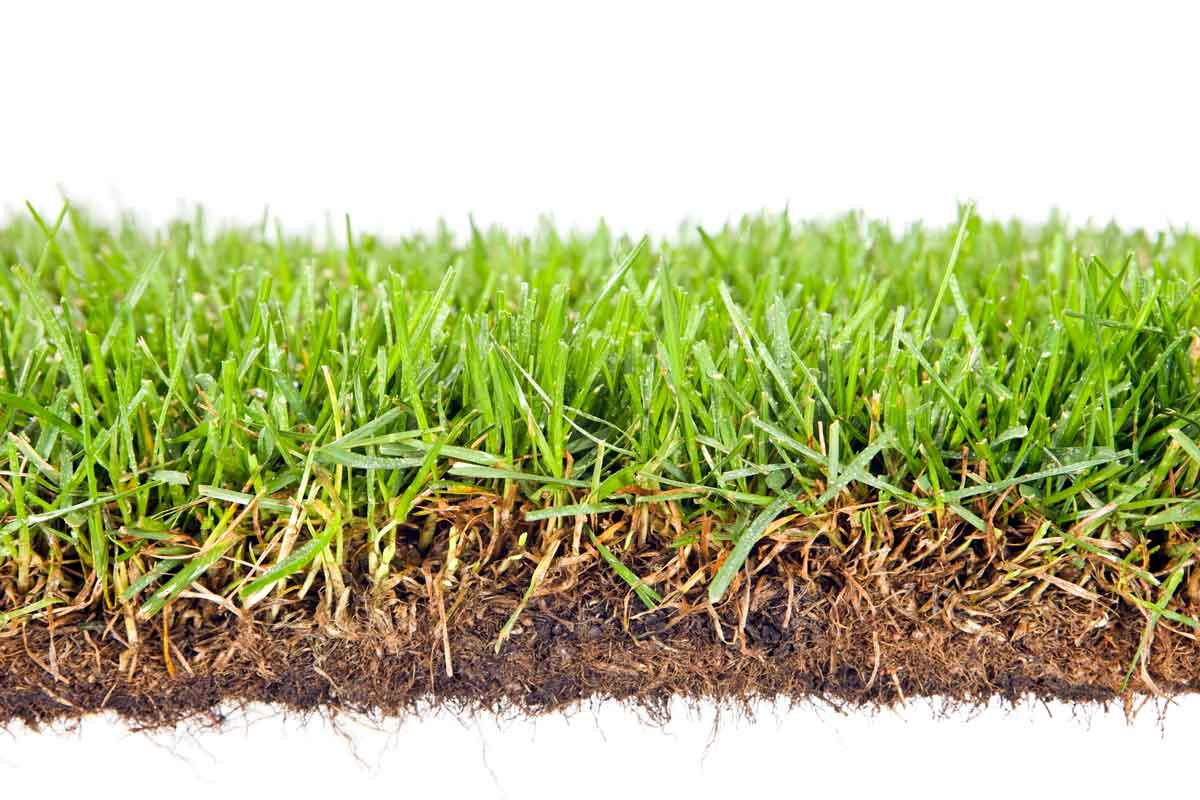 This lawn has a healthy amount of thatch.
/ E+ / Getty Images Plus
How Much is Too Much?
To determine whether your lawn has too much thatch, you can remove some of the turf, about half a square foot, to measure the thatch layer. If your lawn’s thatch layer thickness is between ¼” to ½,” your lawn is fine. However, if the thatch layer measures more than half an inch, you have a thatch problem.
Why Your Lawn Needs Dethatching
If you measured more than half an inch of thatch in your grass, then you need to dethatch your lawn. Why? Too much thatch can cause:
- Browning in the lawn.
- Suffocation of grass roots.
- Thinning of the lawn… which then causes weed growth.
- Turf diseases and pests.
- A barrier that blocks essential water, air, and fertilizers.
Now that you know why your lawn may need dethatching, here are some tips on how to get started.
Dethatching Devices
Dethatching tools have one thing in common: vertical blades that reach into the soil and pull up excess thatch. It is important to recognize that though they may do similar things, not all dethatching tools are the same. Here are three tools that you can choose from depending on your property size and the severity of your lawn thatch.
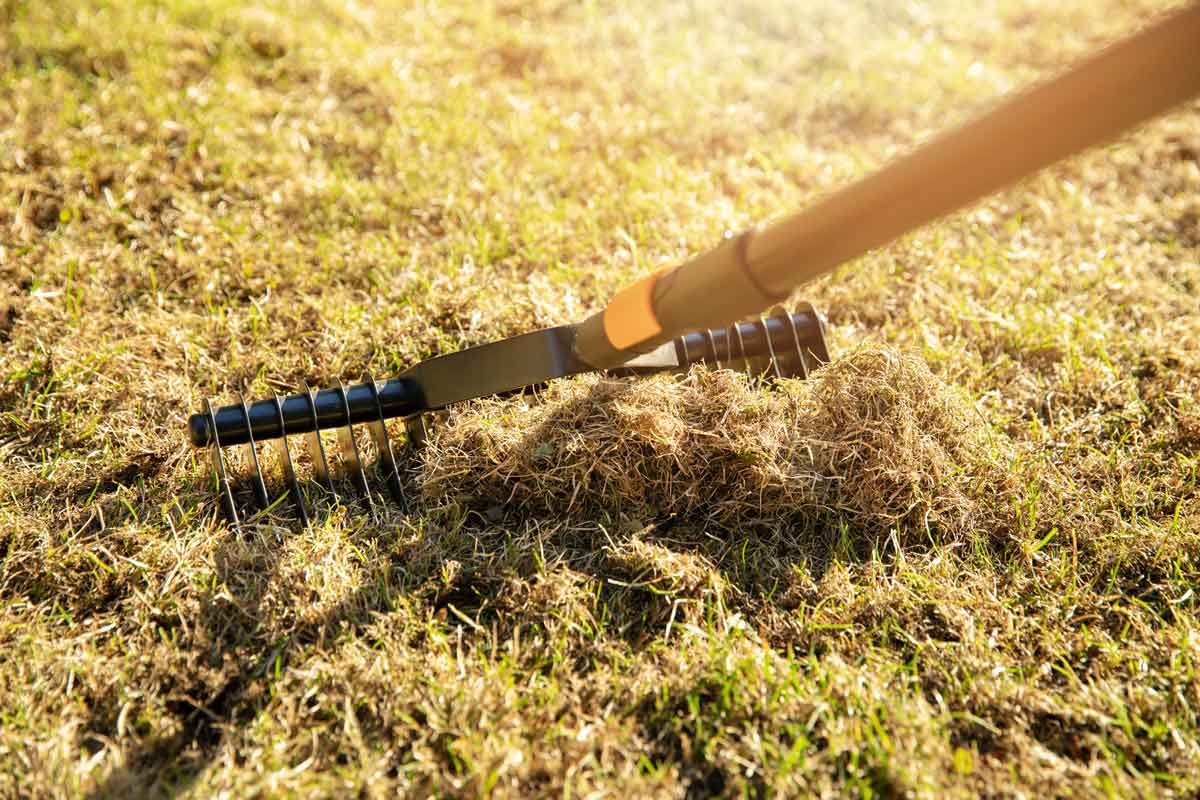
- A convex rake
A convex rake is also called a dethatching rake. It has two rows of tines that grab the thatch when you rake your lawn. It’s great for small properties, but it will take some elbow grease and can take up quite a bit of time. These tools are often used as a measure of prevention against severe lawn thatch.

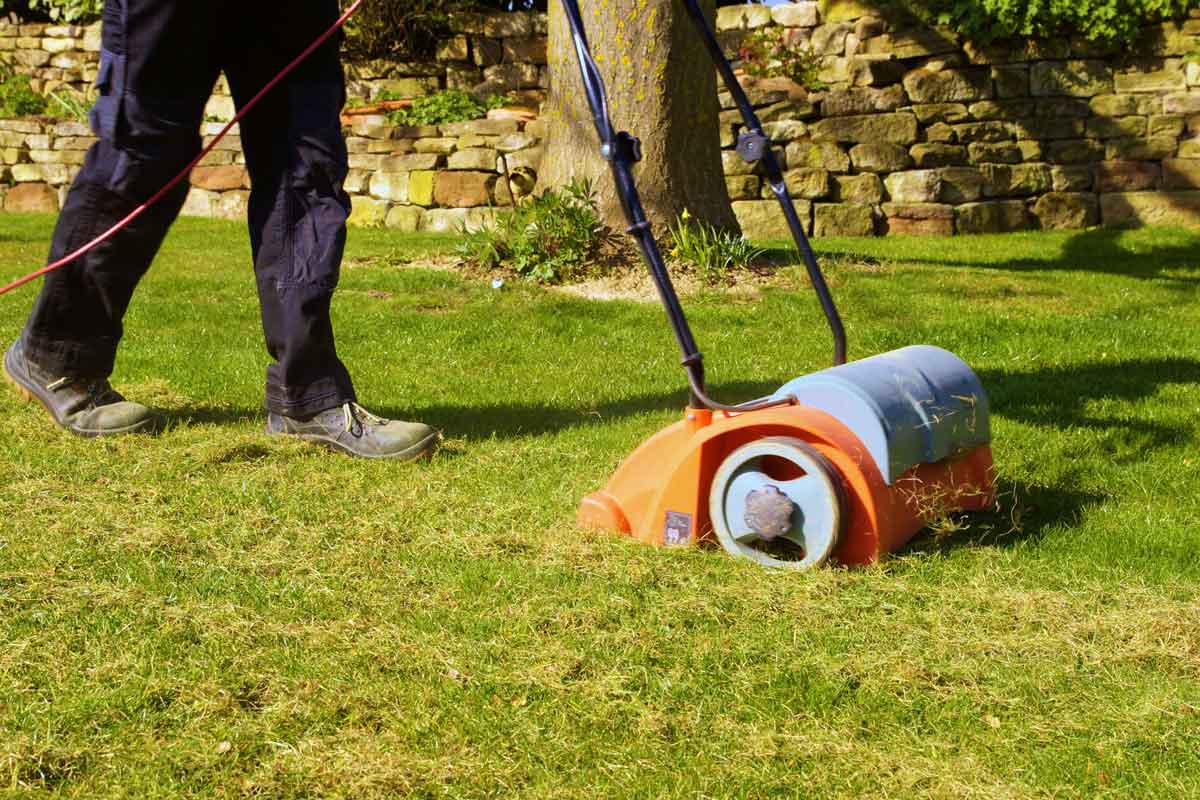
- A verticutter
A verticutter, also commonly referred to as a vertical mower, is considered a happy medium between a convex and power rake. It is a motorized, wheeled tool that has a cylinder on the end with vertical blades that cut into turf. Though this may sound the same as dethatching with a power rake, this process is much less invasive as the blades do not cut as deep into the soil. The process of using a verticutter is also much easier than using both power or convex rakes.
- A power rake
A power rake, also known as a scarifier or mechanical dethatcher, has vertical blades that cut into lawn thatch, removing it from your grass. These tools are great if you have a lot of thatch to remove, whether this is because your lawn is large, or its thatch layer is particularly thick. A power rake will get the job done much faster than a convex rake and it commonly removes three to four times as much thatch. These machines are the most intense of all dethatching tools and they are only to be used for lawns with thick thatch, especially those that have never been thatched before.
You can rent a dethatching device at your local hardware store or box retailer, but note that it may require some friends to help maneuver the machine when transporting and it will definitely require some muscle to run the machine. If you have a large property and use a garden tractor, you can also buy a tow-behind dethatcher with spikes that loosen up the thatch in your yard.
Preparing Your Grass for Dethatching
Before you begin to dethatch your lawn, there are a few preliminary steps that can speed up the dethatching process and prepare your lawn for the job.
- Water your lawn well.
- Mow your lawn, cutting the grass blade height in half.
- Place flags to indicate the location of in-ground sprinkler heads.
Once it’s time to dethatch, follow the manufacturer’s directions on your dethatching device.
Post Dethatching Care
After you’re finished dethatching your lawn, you may notice some bare patches. Follow these steps for filling in areas where the grass isn’t growing:
- Determine why the grass isn’t growing.
You can take samples of soil to have it tested for nutrients. This will tell you whether a lack of nutrients may be inhibiting grass growth. Conversely, you can check the area for grub activity or a lawn disease, such as brown patch.
- Rake off all dead grass from the area.
By removing the dead grass that was brought up during dethatching, you will prepare the soil so that new grass seeds can be planted.
- Gently loosen the soil.
Once you have removed the dead grass, rake the soil to loosen it up and get it ready for new grass seeds.
- Spread grass seeds in areas where there’s no grass growing.
When spreading grass seed, add Greenview Grass Seed Starting Mulch to protect the seeds while they germinate. This seeding mulch includes a starter fertilizer component so your new grass will get off to the right start.
- Lightly water the area every day to keep the soil moist for seedling growth.
Frequent watering is key to grass growing success. Keep the first inch of soil moist until seeds germinate, then continue to keep the top two inches of soil moist until the grass is at least three inches tall, at which point two weekly waterings should suffice.
But do remember, if you've used the Seed Starting Mulch product, you will need to water less frequently as the biodegradable mulch absorbs 3x it's weight in water to keep the area moist longer while seeds germinate.
For a beautiful lawn that you can be proud of, plant a high quality grass seed such as GreenView Pure Grass Seed Sun & Shade Mixture, a balanced seed variety that is free of weeds and can defend against insects and disease. And to keep your beautiful lawn healthy, make sure lawn thatch stays at half an inch or lower in thickness.