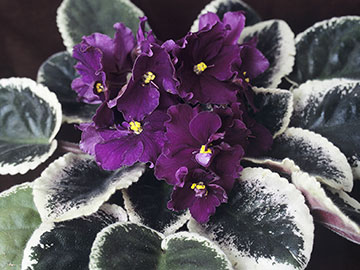
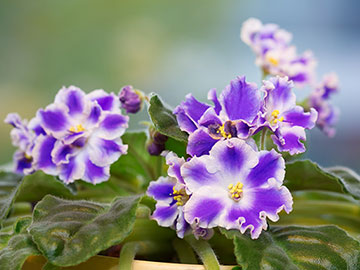
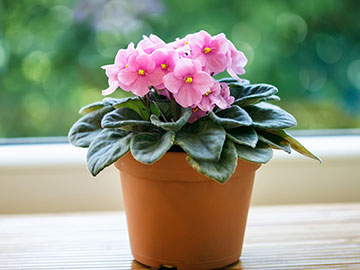
Mention African Violets (Saintpaulias) and most gardeners are likely to have one or know someone who does. They are among the most popular indoor plants. They get their common name "African Violet" because of their close resemblance to violets and being native to tropical areas of Tanzania and Kenya in Africa.
African Violets are fun to grow because they produce cheery flowers most all year long. The variety of flower colors & petal variations and leaf types & textures across the species seems endless with many "wow" varieties among them. If you're growing African Violets almost anywhere in the U.S., it's likely they are growing indoors. Typically they like bright, but indirect sunlight. To be grown outdoors, African Violets require a tropical environment. That means the light, temperature and humidity must all be ideal. Ample humidity is important when growing indoors to have good success and a showy flower display.
Because African Violets bloom frequently, it's important to feed them regularly. Sprinkle a granulated plant fertilizer on the soil every 4-6 weeks. Lightly mix it into the top of the soil and water in. When it comes to potting them it's best to choose a pot that's right-sized. Not too big, not too small - with room for roots to grow, but not oversized. It's better to allow for growth with plans to repot each year into a new pot, just slightly larger than the last.
African Violets do best in a soil that's loose and drains well so roots can grow and develop freely. Mixing peat moss or vermiculite in with your regular potting soil can help with aeration, or purchase a potting soil specifically for them. Water when soil feels dry to the touch. Keep soil moist but not saturated and be careful when watering not to get droplets on the leaves as this will discolor them. If you do get the leaves wet, gently dab them with a paper towel.
Share the love
So often friends and family will be admirers of well grown African Violets which is great because they are easy to propagate and share. Fill a mason jar or small glass with water, place wax paper over the top of jar and secure it to the jar or glass with a rubber band. Poke three holes in the wax paper. Take leaf cuttings and place them into the holes far enough so leaf stems are touching the water. Check regularly to make sure the stems are touching the water and in 2-4 weeks, roots should develop. After roots develop, pop the leaf stem into a potting soil as mentioned above and set in window with bright light and optimal humidity. Once additional new leaves appear they are ready to pass along to friends.